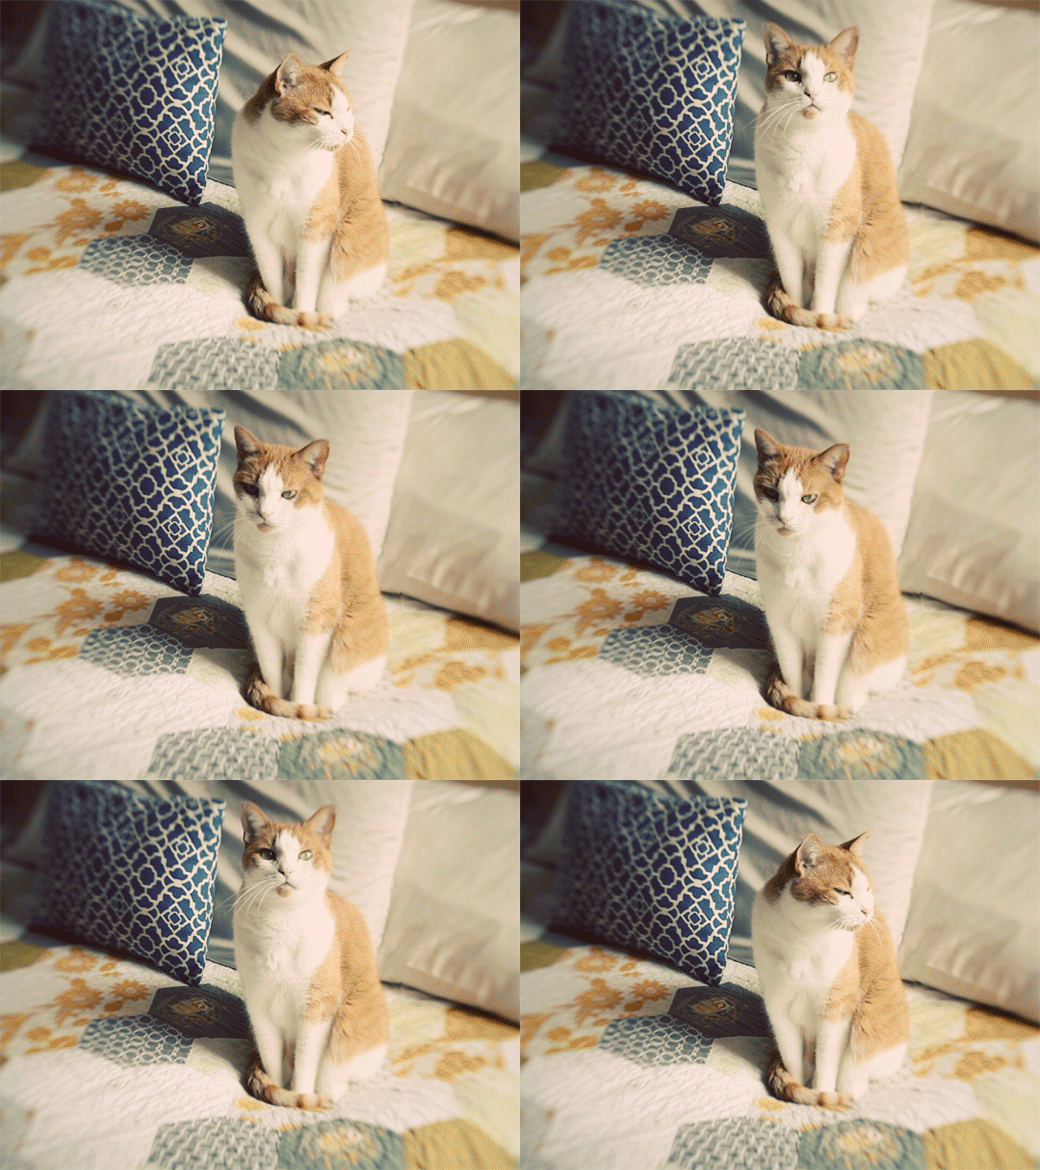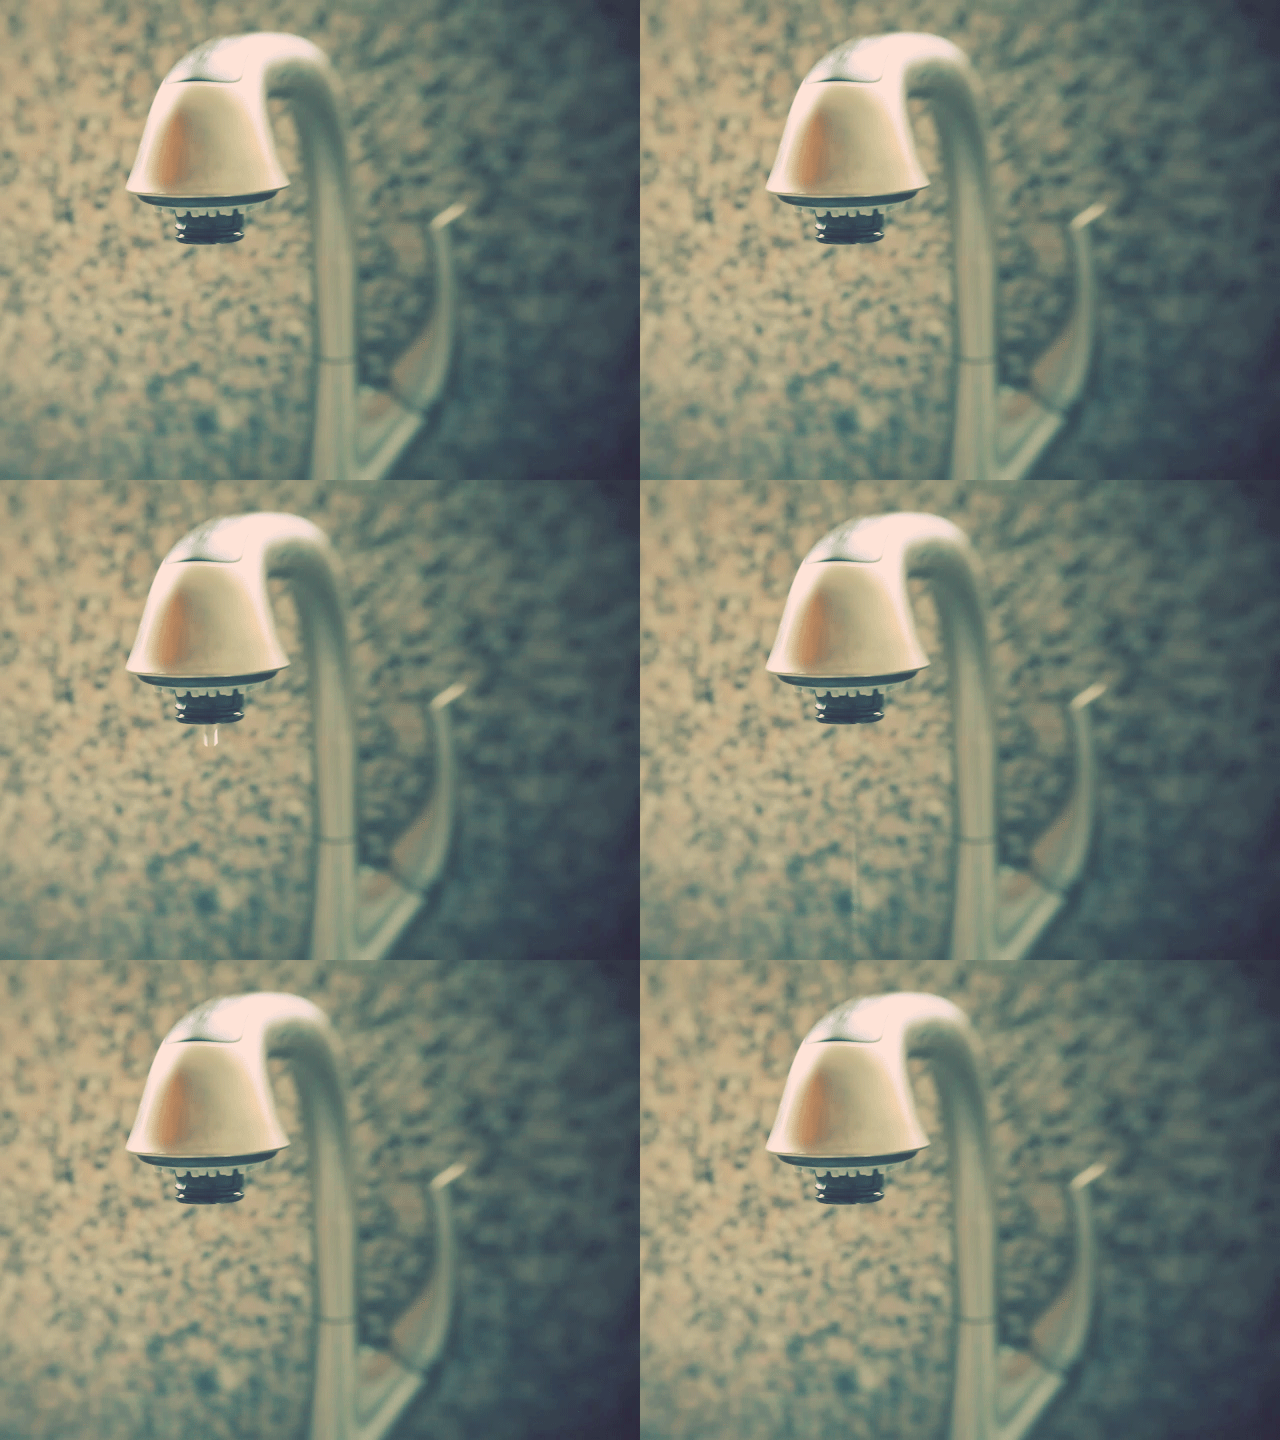
Cinemagraph: A Cinemagraph is a short 3-10 second animated
and looping .gif made from motion video to appear as a still image with subtle movement. Brought back in an interesting way by these two, Cinemagraphs allow photographs to come alive in new and interesting ways.
Equipment:
·
Tripod
·
Digital camera with video capabilities
·
Photoshop Software
To begin: The overall success of a Cinemagraph depends
on the looping nature of the .gif file. What is looping exactly? Looping refers to the repeating and
synchronized visual element in a video.
Cinemagraphs that appear to loop seamlessly give the overall impression
of a still image with captured movement that looks natural and
coordinated. Scenes that show
predictable elements that repeat naturally in real life will have a higher
success of a working Cinemagraph. (Think
of a moving escalator or busy road.
Traffic and patterns of movement are created within these two scenes
that appear assumed and natural.)
It’s also
important to remember that a Cinemagraph is not a replication of motion
video. It does not try to recreate a
visually intense scene but rather a subtle movement or effect that you would
like to highlight.
Make sure your video files are compatable with CS6:
-
.264
-
3GP, 3GPP
-
AVC
-
AVI
-
F4V
-
FLV
-
MOV (QuickTime)
-
MPE
-
MPEG‑1
-
MPEG‑4
-
MPEG‑2 if a decoder is installed (for example, with an Adobe video suite)
-
MTS
-
MXF
-
R3D
-
TS
-
VOB
Instructions:
1. Shoot your video.
·
Each camera is different and utilizes different
controls for its video capabilities.
Refer to your owner’s manual for any specific hardware issues in regards
to your camera’s video capabilities.
For our sake
and purposes, set your video capabilities to the lowest size/quality
settings.
·
This keeps our files relatively small and
utilizes less space on the memory card.
Locate your
scene and set up your tripod and camera.
Shoot a 10-20 second clip of video.
·
When finished, Cinemagraphs are typically 3-10
seconds in total length of motion. Keep
this in mind for the motion you want to capture. Anything longer moves into the realm of
motion video.
2. Upload your video and input it into
Photoshop.
·
Open Photoshop and go to File_Import_Video Frames to Layers…
·
Locate your file on your computer
When you
open your file into Photoshop, a dialog box will appear like this:
You have the
choice to import the entire length of the video or trim it to specific
ranges. Make sure that the “Make Frame
Animation” is always checked. Click OK
when finished. All frames should appear
as a single layer in the layers palette.
·
In this example, I have filmed a leaky faucet
with drips of water coming out at varying intervals of time. I filmed about 15 seconds of the leaky faucet
but only need one full segment of a drip of water coming out of the faucet,
since I’ll loop it. I ended up trimming
the video from the 0 to 4 seconds.
3. Next, locate your layers palette. Create a new folder. Place all the layers except for Layer 1 into
the folder. Layer 1 will act at your
still frame.
4. Next we will need to mask the specific areas
where movement will be seen in the still image.
Click to highlight the Group 1 folder and add a layer mask to it.
Making sure
that the white chip is on top of the black chip, press Ctrl_Delete (Command_Delete for Mac) on your keyboard to fill the
layer mask with black.
5. Now that we’ve filled the layer mask with
black, all layers placed within the folder are not visible. This means that no motion will be seen if we
were to hit play on the Cinemagraph. We
need to mask back or reveal in the areas where motion will occur. Go to your tools palette and select the Brush
tool. Begin brushing over the areas
where motion will be seen in your Cinemagraph.
It will be hard guess where to mask back in the motion since no changes
will occur to the image, only to the layer mask icon. Keep in mind the original trajectory of
motion in your video.
·
In this example, I knew that the drips of water
would fall directly underneath the opening of the faucet and so I brushed in
this particular area of the image.
6. After masking back in the motion of the
video, go to Window_Timeline. This will open the animation palette and you
will see your establishing Layer 1 and sequential masked layers of motion. Conversely, if you were to hit the Play
button in the animation palette, your .gif would begin with the establishing
Layer 1 and then follow with masked areas of motion.
We need to
match the visibility of the layers to represent Layer 1. Go back to your layers palette and click on
Layer 1. You will find a new set of
options in regards to the Frame 1. You
need to click on the middle icon located as a Unify option in the layers
palette. Click on the eye symbol. This is the Unify layer visibility option. It is highlighted below:
Once you
click on the Unify layer visibility
option, your frames in the animation palette will fill in to look like the
Layer 1.
From this
(Before clicking on the Unify Layers
Visibility):
To this
(After clicking on the Unify Layers
Visibility):
Now when you
click play on your animation palette, you should see the beginnings of your
Cinemagraph. The looping is always set
to Forever by default.
7. Now we can begin tweaking the options with
the animation.
To begin
with, you can change the overall time of each segment of the animation. Click and select all the frames in the
animation. At the bottom of each frame,
you will find a drop down arrow to select a different length of time. (All frames are defaulted to 0.03 sec.) You can choose to slow down or speed up the
frames. In this example, I choose to
slow down the motion to 0.06 sec per frame by selecting Other… and choosing a
specific time per frame.


8. Some Cinemagraphs have a linear set of motion
that needs to be reversed in order to loop successfully. In the example below, I have filmed a short
segment of my pet cat, Connor. The clip
begins with him looking to our right, then up to the camera, and finally to the
left side. If I were to loop this set of
motion as is, there would be a complete jump from the end where he looks to the
left and back to the beginning where he is looking to the right. This jarring set of motion would break the
illusion of the Cinemagraph. I needed to
create a reverse set of motion so that he seamlessly looks from the right, up
to the camera, then back to the left and in that reverse order.
In this
case, I have worked like before: I clipped and layered my segments of motion so that Connor begins
looking to the right, looks up to the camera, and then back down to the
left. I have already masked the set of
motion and placed these pieces in a folder.
Now I need to create a set of motion in a reverse order.
To do this I
need to highlight the set of motion that I would like to appear in reverse. In this case, I selected the segment of motion
of Connor looking to the right, up at the camera and back down to the left,
leaving out some of the beginning and ending frames of motion.
Go to the
top right corner of your animation palette and click on the drop down
menu. Copy the frames selected.
Paste the
frames selected. A dialog box will
appear and ask you where you would like to place these new frames. Make sure that the “Paste after selection”
option is checked. Click OK.
Go back to the drop down button on the top right corner of the animation palette and selected Reverse Frames. This will reorder the frames that you just pasted in reverse order.
Hit play on
your animation palette and check the looping of your file.
·
You can move individual frames around, delete or
continue to copy different frames in order to fine-tune the loop. Again, you can choose to change the timing
per frame as well. Select individual
frames to pause movement so that it appears more natural or varied.
9. After creating and editing the motion, you
can go back to your layers palette and make color selections and edits to the
image in order to create a visual impact, style, or mood. Make sure the image adjustments are placed on
top of the layers.
·
.gif files have a limited amount of color
information, so creating a color tone or cast can work in the overall favor of
image quality.
10. Image size, file
size, and saving options.
Depending on
where you host your Cinemagraph, image size is important in controlling the
overall file size of your .gif. To
reduce the image, just go to Image_Image
Size…
From the
dialog box, you can change the size of the file by reducing the size of
pixels. Originally, this file was 640
pixels x 480 pixels. I can reduce the
size down to 500x375px to optimize the file size. Click OK.
Next, go to File_Save for web…
From the top
of the dialog box, locate the correct .gif file format.
Keep all the
options as is. You can also continue to
change the size of the file utilizing the Image Size options located at the
bottom of the dialog box. Changing the
size of the file through this option will greatly affect the color output, so
it is best to try and change the file size mentioned previous to this options.
As always,
you can check the differences in file size based from the information of the
original file versus the resized file.
Once you’re
satisfied, click Save… and save the
.gif file on your computer. That’s
it! You’re done and now you can upload
it onto the web.
Utilize free
hosting sites such as: