Today I ended up finishing my ruffle dress. I figured if I didn't push on and work/finish it today, I wouldn't get a chance until after June 15th! (Many reasons why this date specifically, mainly because I will be flying back home.) So this morning I worked through the last steps of this dress and added my own finishing touches.
To begin
where I left off, I had just finished piecing together the top piece of the dress and finished the edge of the ruffle. My next step was to sew a bound seam on all unfinished arm hole seams and unfinished collar seam. In order to do that, I had to make my own biased tape. A good portion of this post will be a quick tutorial on how to sew your own biased tape/binding.
You can find and buy biased tape at any sewing/craft store and it comes in handy when you can match colors correctly and want to finish off a project quickly. My pattern called for standard 1/2" biased tape and I suppose they assumed that I would either (1)find black biased tape or (2)somehow procure the exact same patterned biased tape as my dress. But if you have ever quilted or just looked at packaged biased tape, you'd find that it's actually very easy to make.
Quick Tutorial on DIY Biased Tape
To begin with, you'll need to find the cross grain (otherwise known as, bias) of your fabric, it's the stretchy side perpendicular to your selvage. Cut 1 1/2" strips.
Connect strip together by placing the ends together, right sides together in a "L" shape, and sewing across at a 45 degree angle,
from outside edge to outside edge. (If you sew from inside edge to outer corner, your strip will not form a straight continuing strip!)
Trim excess fabric and press open the seam. As you see in the second photo, the strips sewn and pressed open create one continuous strip. Once you sew and connect all strips together, fold in 1/2" on one side, right side out, and press with an iron.
Since I am going to attach the biased tape to my dress, I won't need to fold and press in the other side of the tape. Technically, this would be called single-fold biased tape. (Two sides pressed together is called double-fold biased tape.)
This is very simple to make on your own and creates refined looking garments when used for bound seams!
To continue with my dress, I attached my biased tape to the ruffle and collar, sewing through all the layers. I then turned the biased tape back towards the inside of the dress, pressed and carefully sewed back through all the layers. (Some sewers like to hand baste instead of machine stitching back through to create a clean and polished look but my instructions called for me to edge stitch across all edges of the dress thus making my "sew back" plausible.)
Here you can see a finished look at how the bound seam creates that nice finished look to the dress. I also created a bound seam on each of the arm holes.
Next I worked on the skirt of the dress. I gathered both the front and back of the dress between the markers I had cut out from the pattern. I then sewed together each of the side seams of the skirt.
I pressed open all the side seams and also pressed down the gathered parts of the top of the skirt. (I found that pressing the gathers made it easier to attach the top piece and skirt together.)
With the skirt prepped, I then lined up and pinned together the top piece and the skirt of the dress. (Turn top piece wrong-side out and upside down into the skirt.) I then sewed the two together.
Once I had sewn the top and bottom piece together, I could have basically been done with the project (save for the bottom hem), but I knew a final try-on would tell me otherwise. I should have figured that the dress would be a bit loose since it did not call for a zipper and it needed to be wide enough to allow my shoulders to pass through. I didn't like how loose the fit was and instead of ripping open a seam and adding a zipper, I choose to add elastic tape to the front and back gather of the dress again. Besides those terrible zig-zag lines that you can see at the top of this photo, I think that this was a genius move. With the added elastic, I am able to slip on and off the dress and still have a nice structured fit to the dress in my waist.
Once I was satisfied with the fit, I finished the hemline (with a double fold and sew) and added a small black button to the top of the collar, connecting the two sides of the ruffle together.
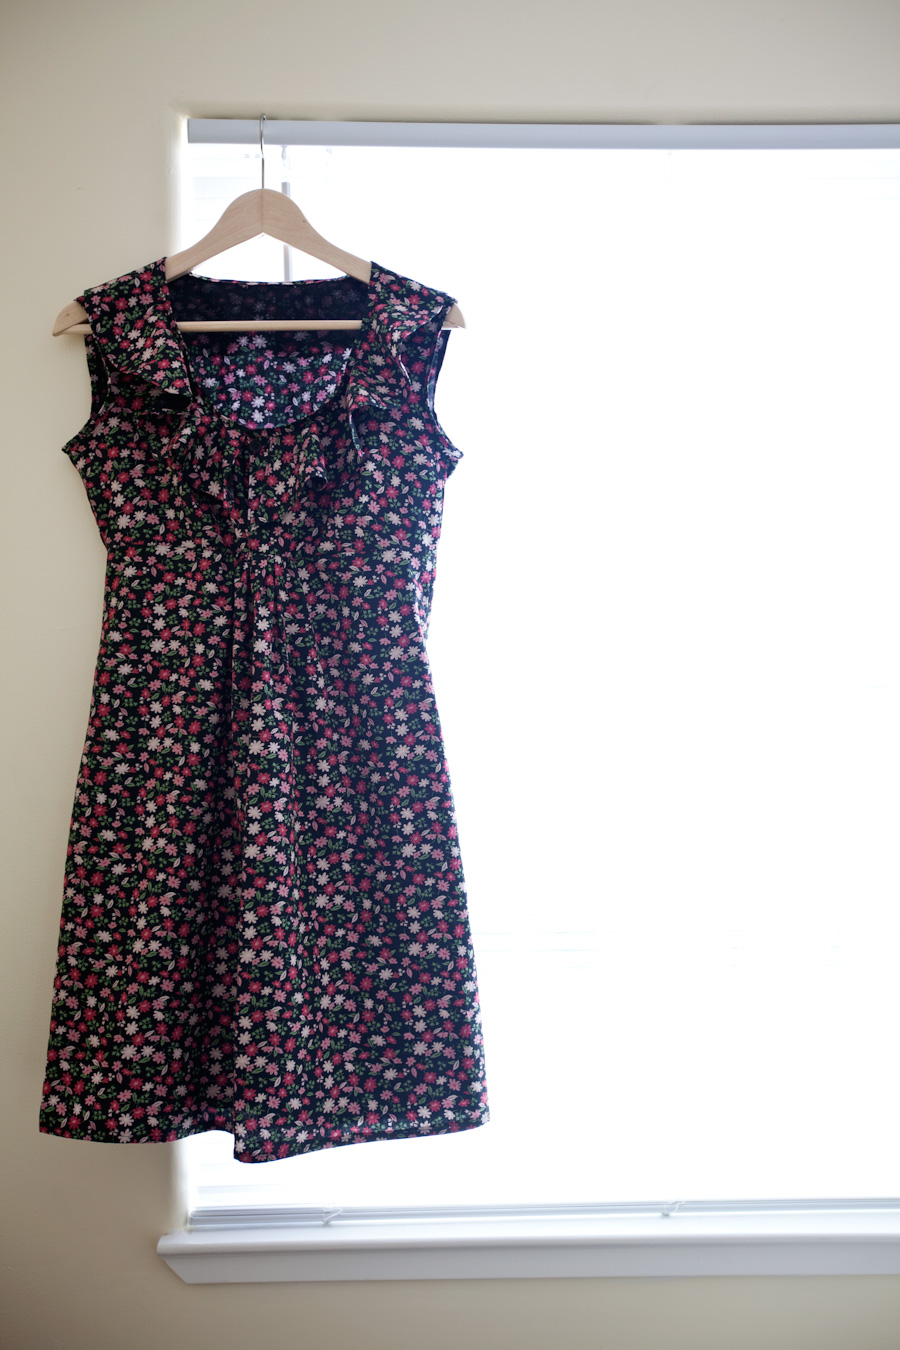
And
fineto! A finished ruffle dress to my 100% absolute likings. :-)


No comments:
Post a Comment